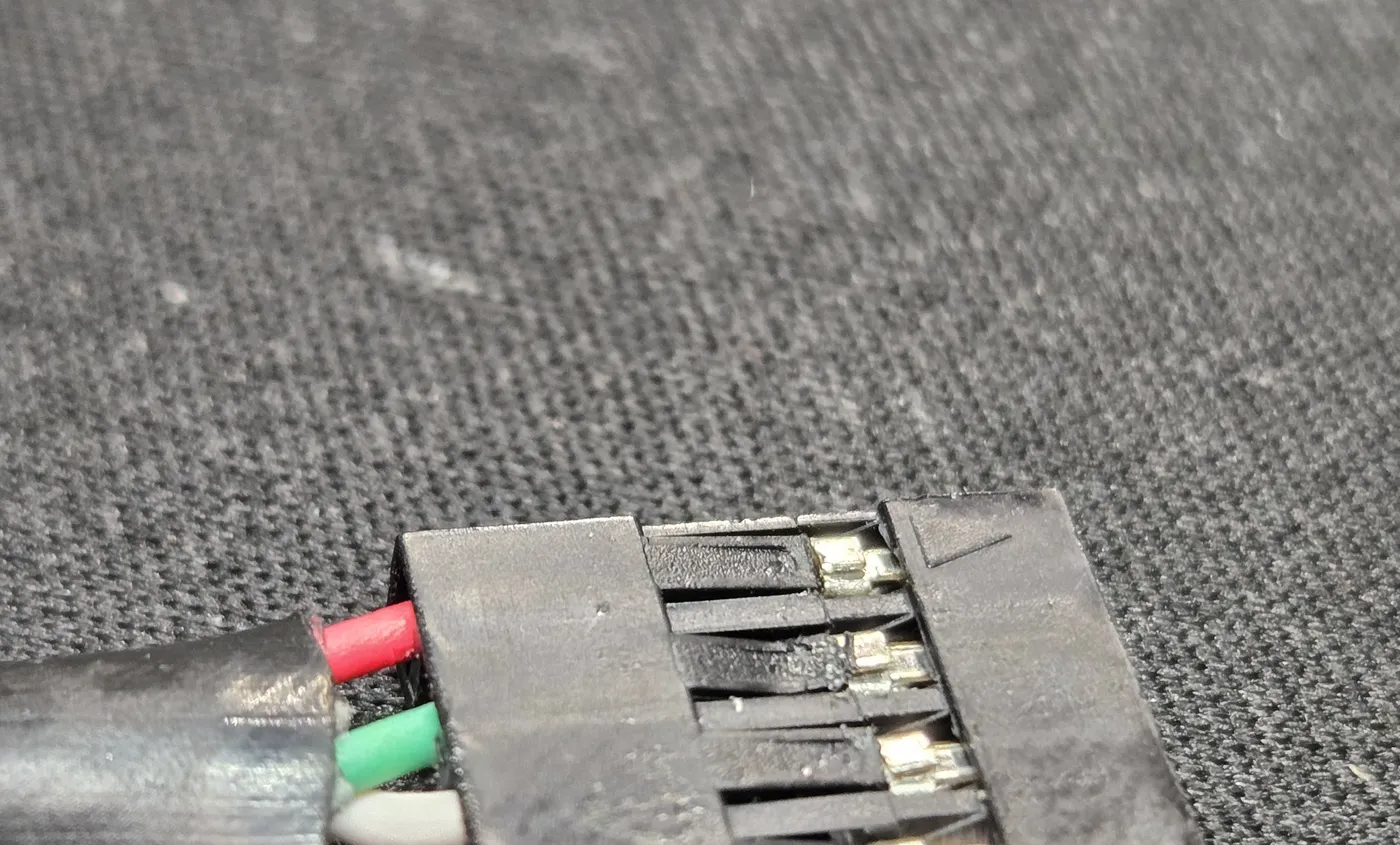
BT Harness Header Fix
Some early ALPHA BT Module harnesses shipped with the two data wires reversed at the connector. Here is how to check yours and correct it in under a minute.
- Applies to
- Some early ALPHA BT Module wiring harnesses
- Symptom
- The two data lines are reversed, so the harness will not work correctly until corrected
- Time required
- Under 1 minute
- Tools
- Tweezers or a small flat tool
The issue.
Some early Bluetooth harnesses were shipped with the two data lines reversed. Looking at the connector, the wire order should be:
On affected harnesses, the green and white wires are swapped. The fix is to move those two wires back to their correct positions. It takes under a minute and no soldering or crimping.
The fix.
01Check the connector
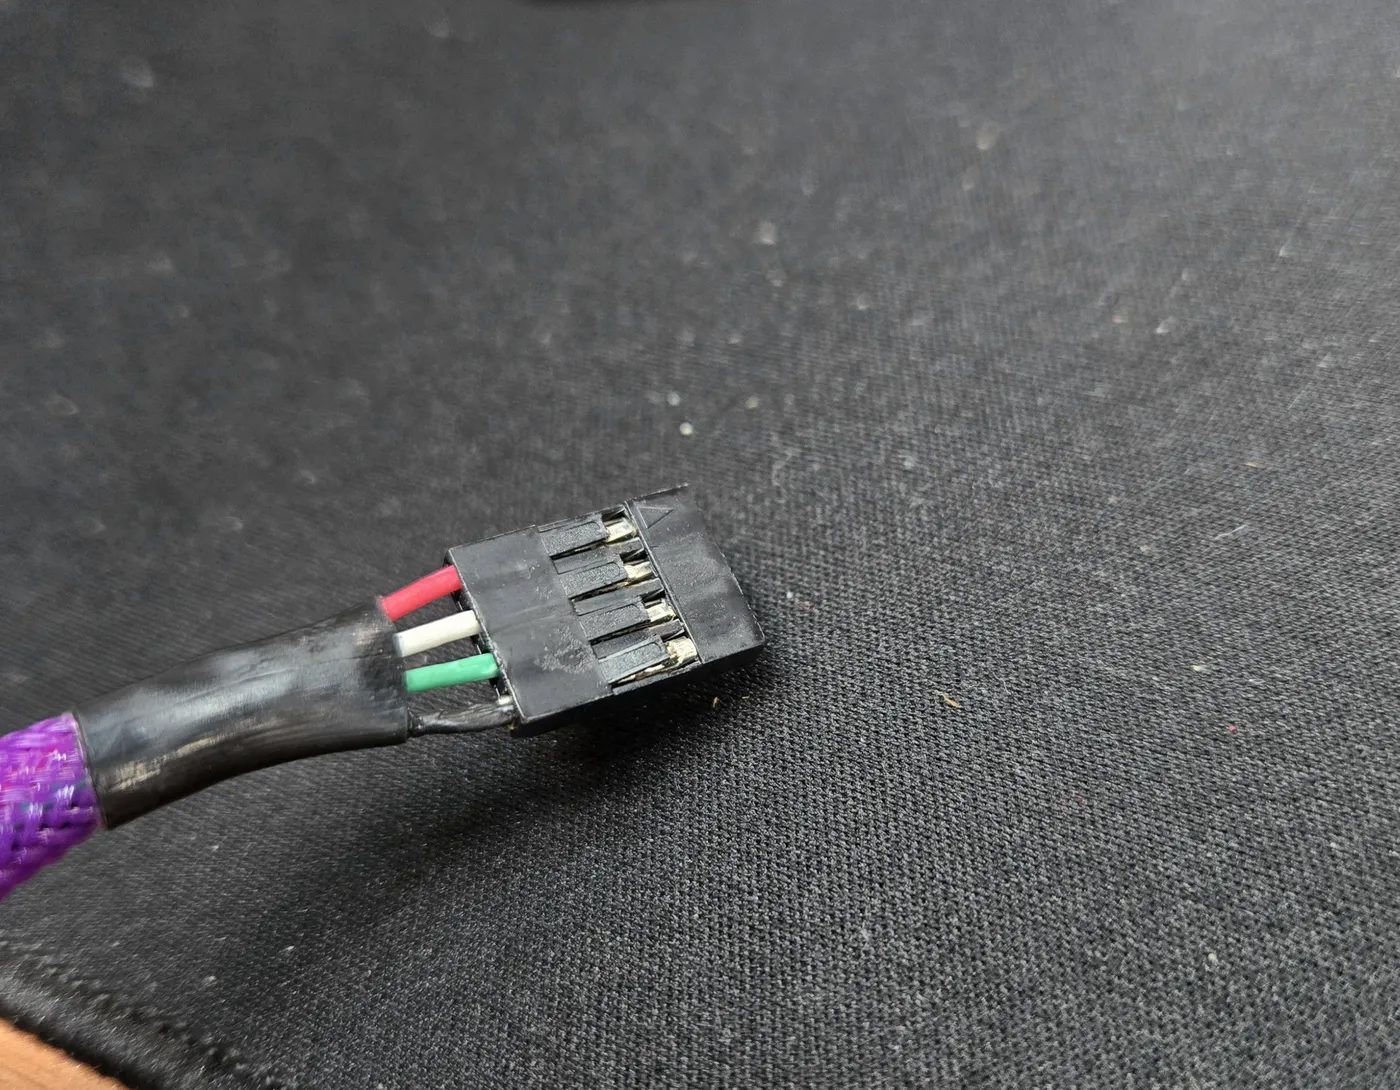
Look at the wires going into the connector. The correct order is red, green, white, black. If your harness reads red, white, green, black, as shown here, continue with the steps below. If it already matches the correct order, no action is needed.
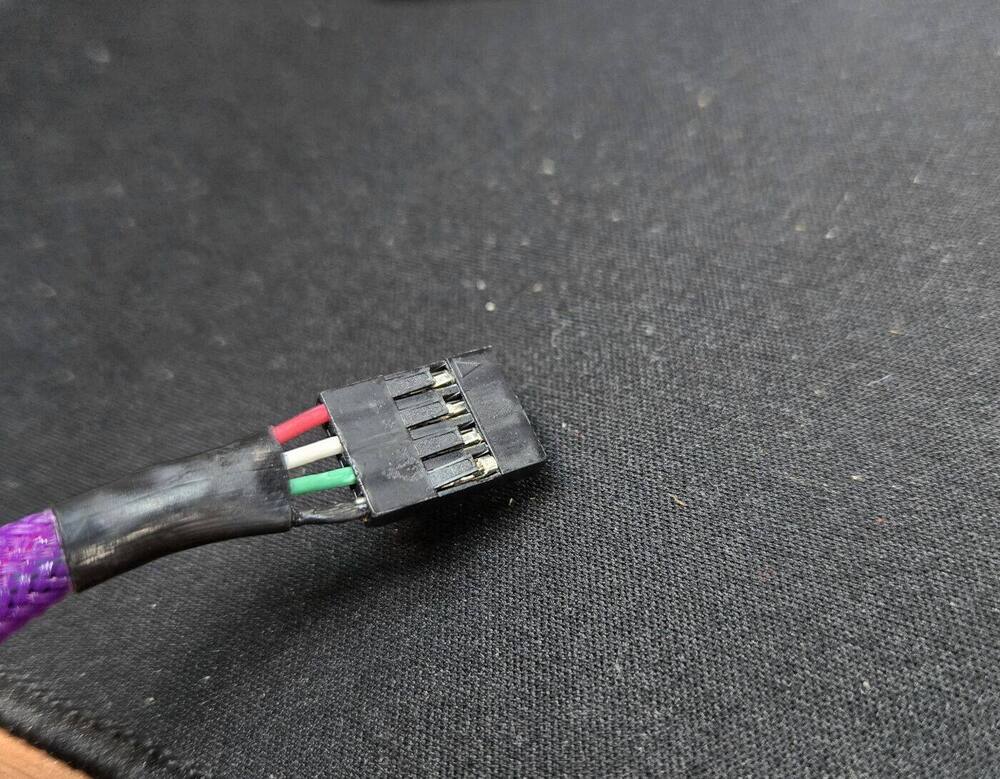
Photo 1. Incorrect order: red, white, green, black. Click to enlarge. 02Lift the locking tabs
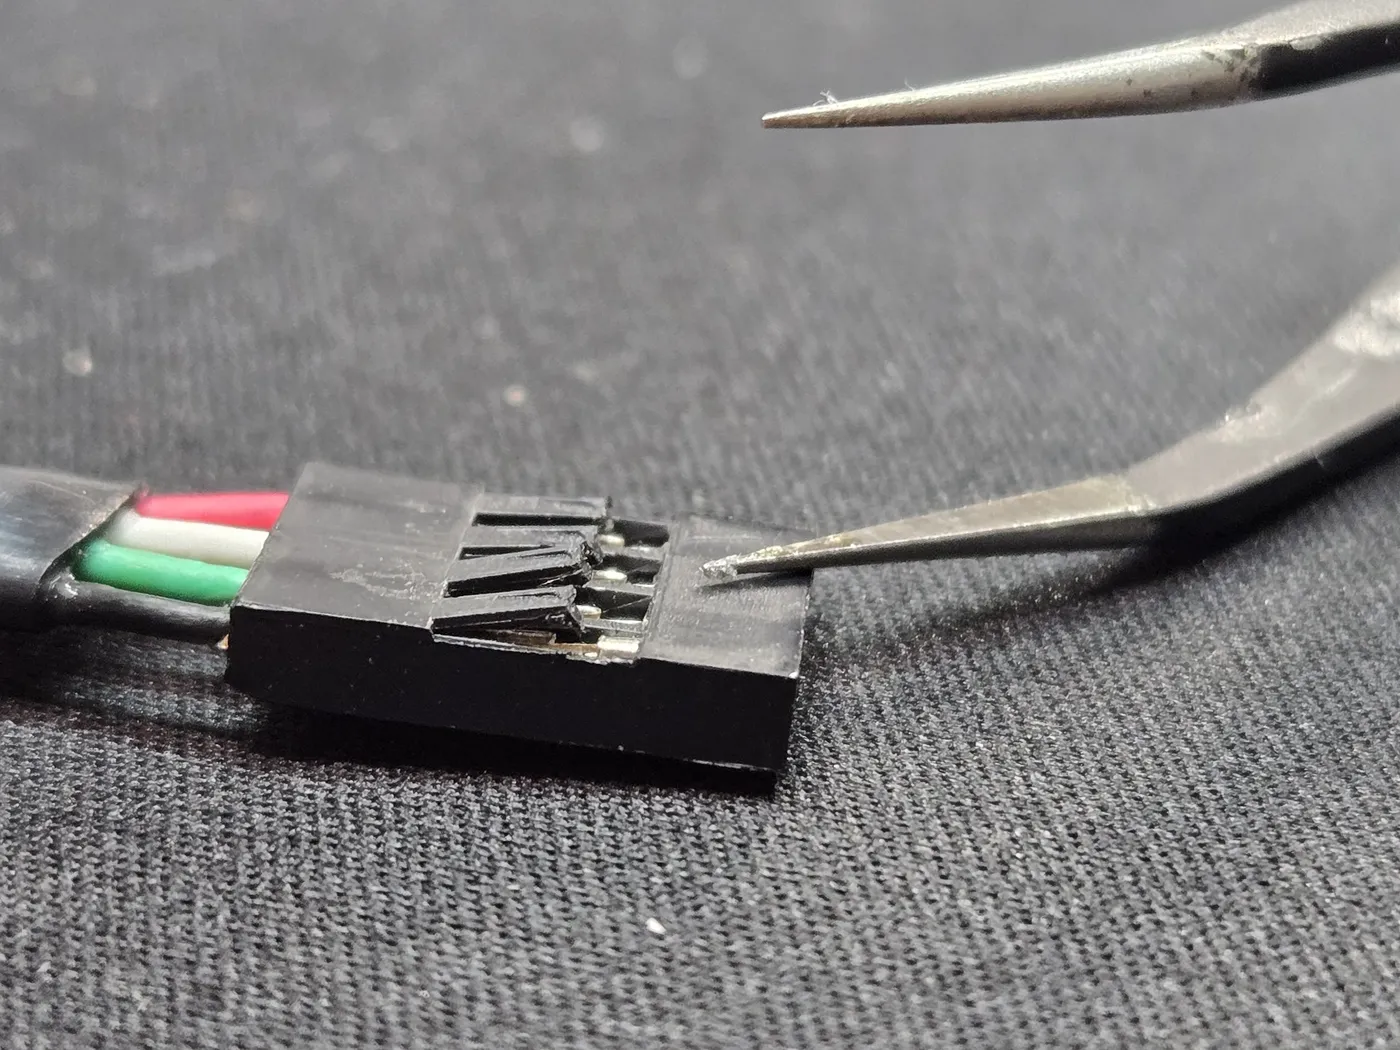
Use tweezers or a small flat tool to gently lift the locking tab over each terminal. Lift only far enough to release the terminal. Bending the tab too far can weaken it.
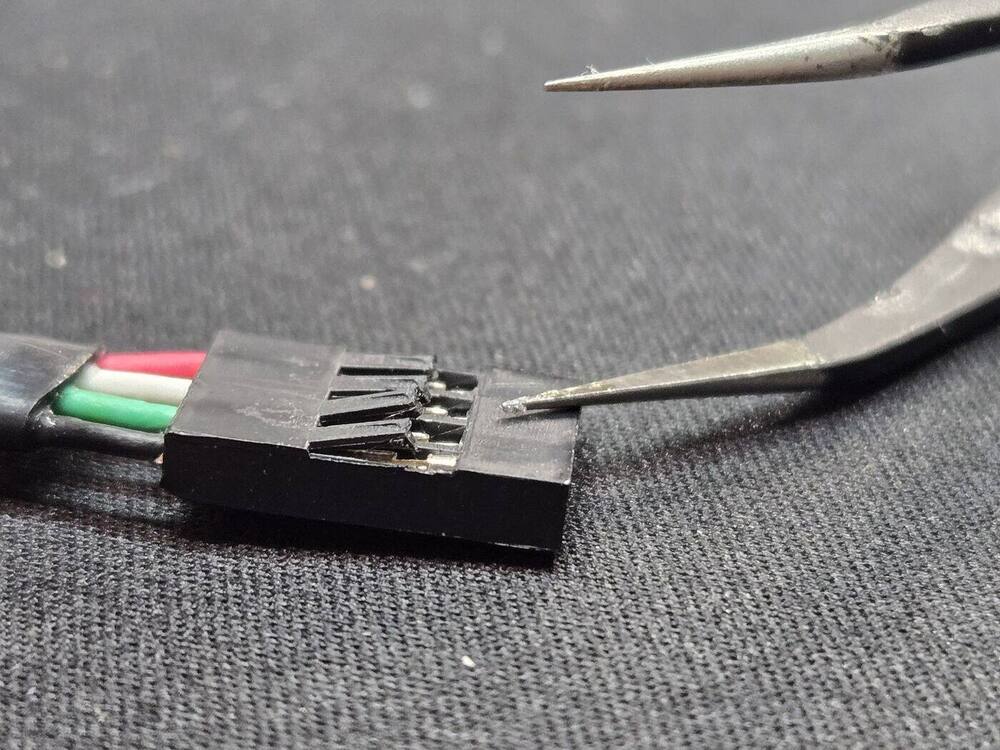
Photo 2. Gently lift the locking tabs. Click to enlarge. 03Pull the wires out
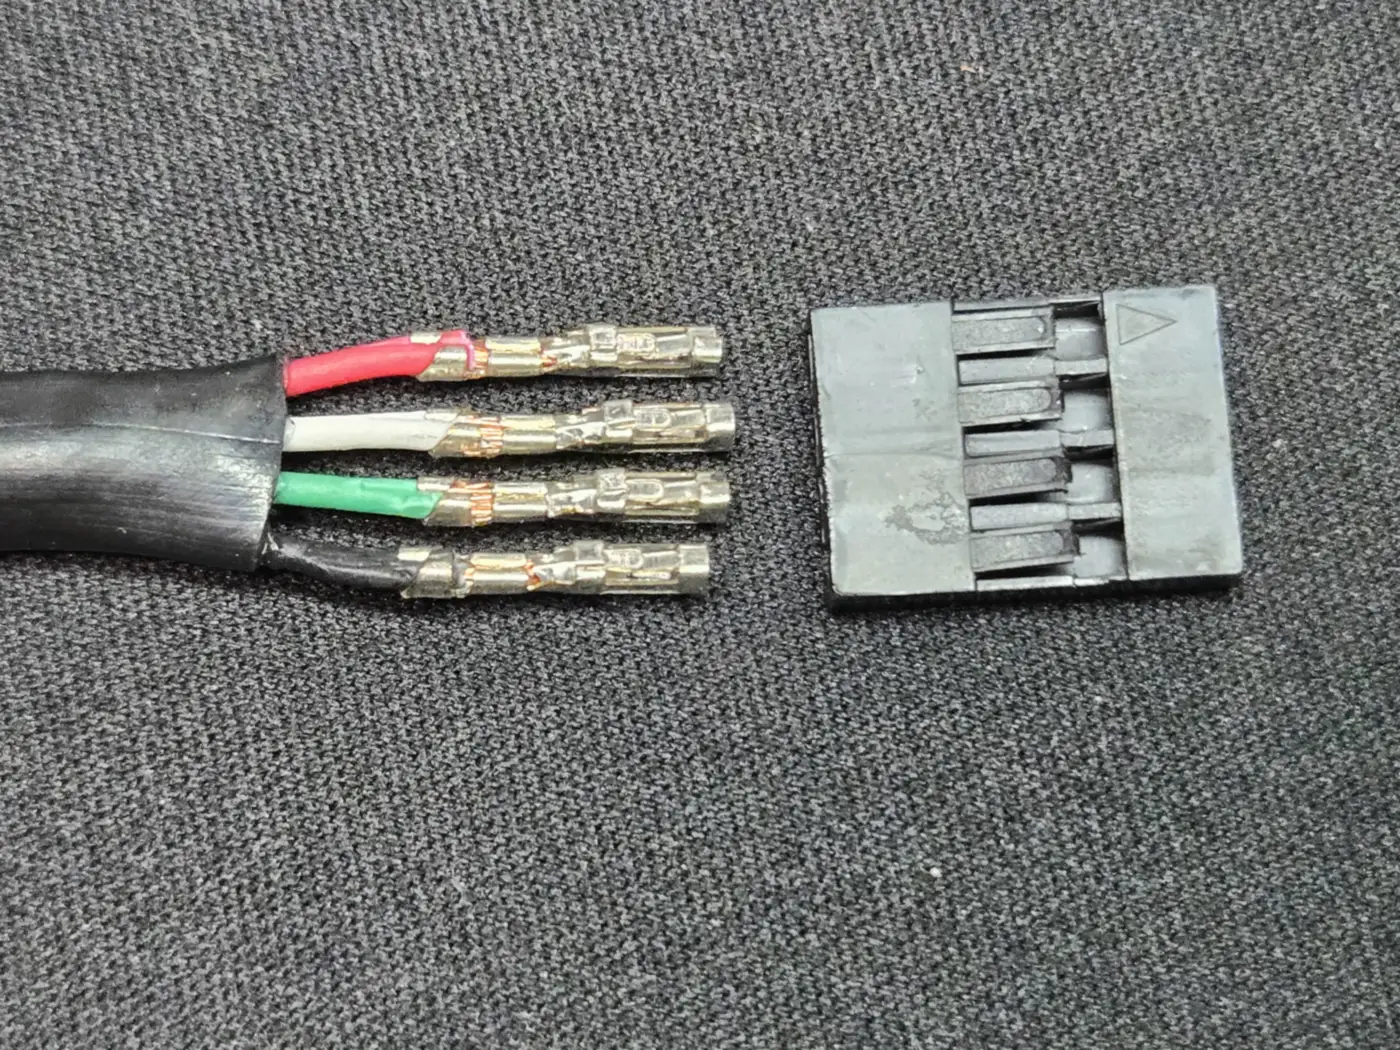
With the tabs lifted, pull each wire straight back and out of the connector. Pull in line with the connector, not at an angle, so the terminals are not bent.
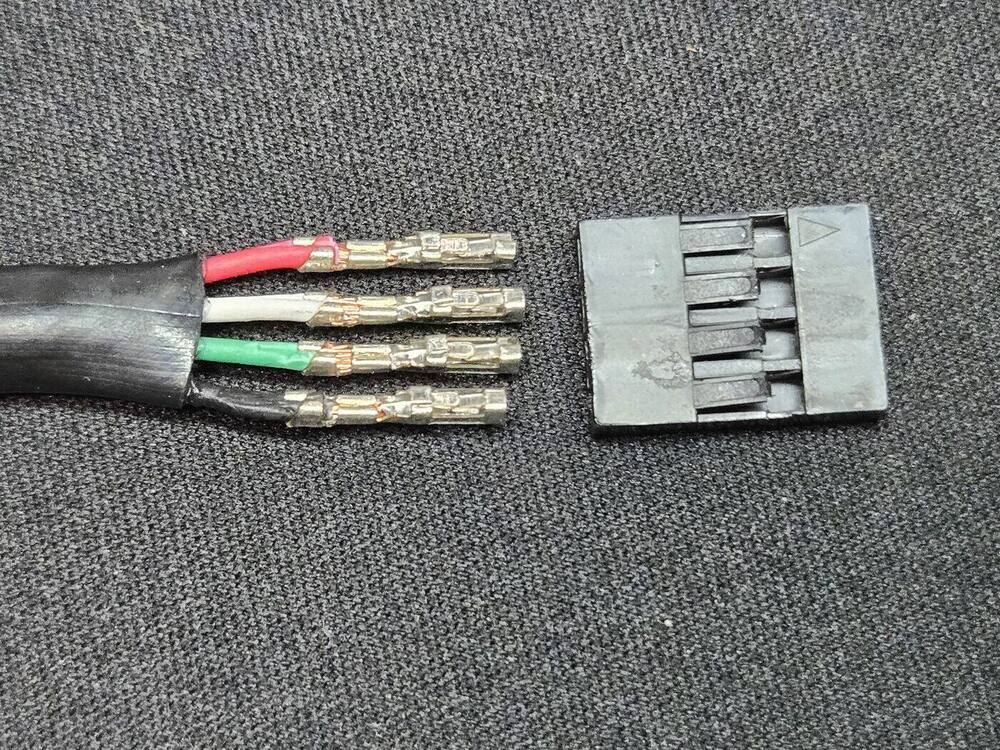
Photo 3. Wires removed, terminals intact. Click to enlarge. 04Swap green and white
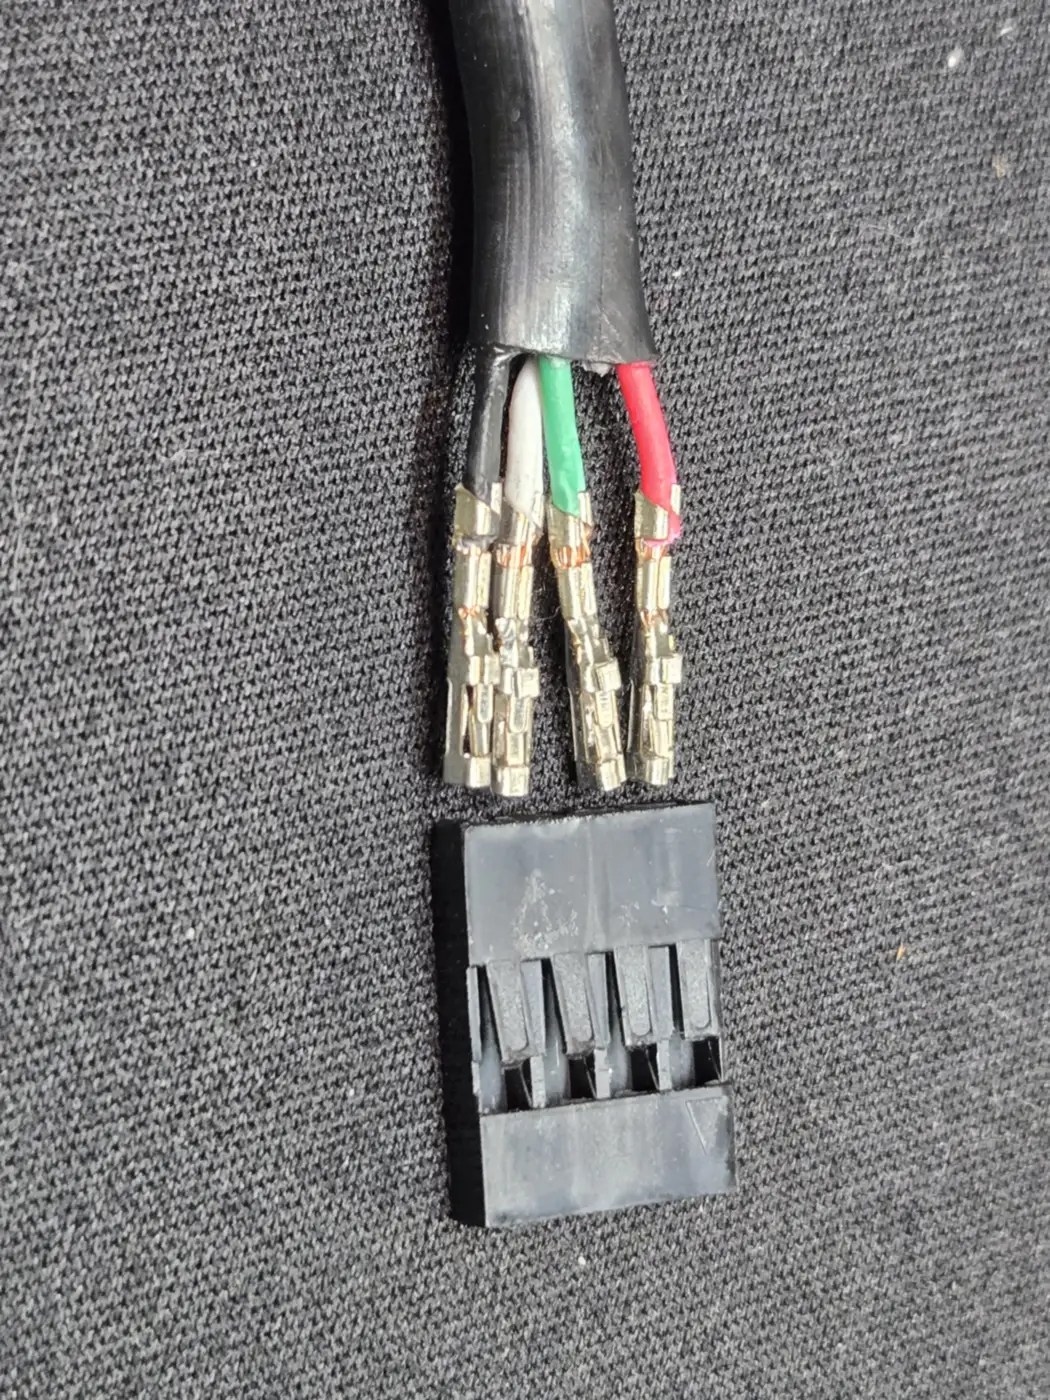
Swap the positions of the green and white wires so the order reads red, green, white, black. Leave red and black where they are. Make sure each terminal faces the same way it came out.
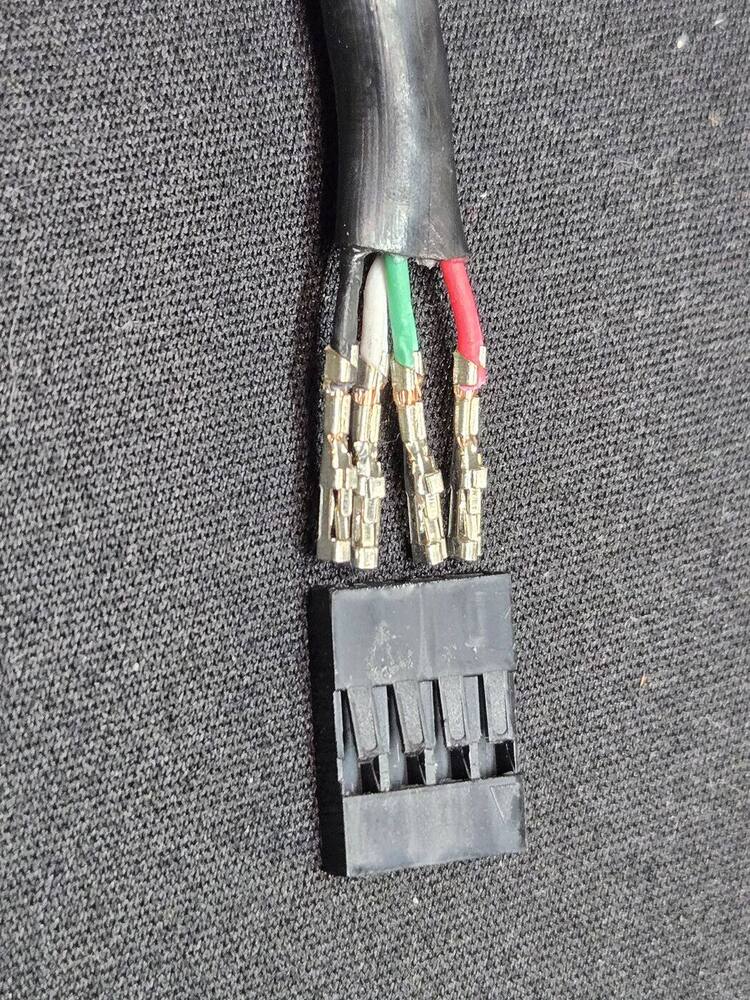
Photo 4. Green and white swapped into the correct order. Click to enlarge. 05Reinsert and lock
Push each terminal back into the connector until it seats, then carefully press the locking tabs back down. Give each wire a gentle tug to confirm it is held in place.
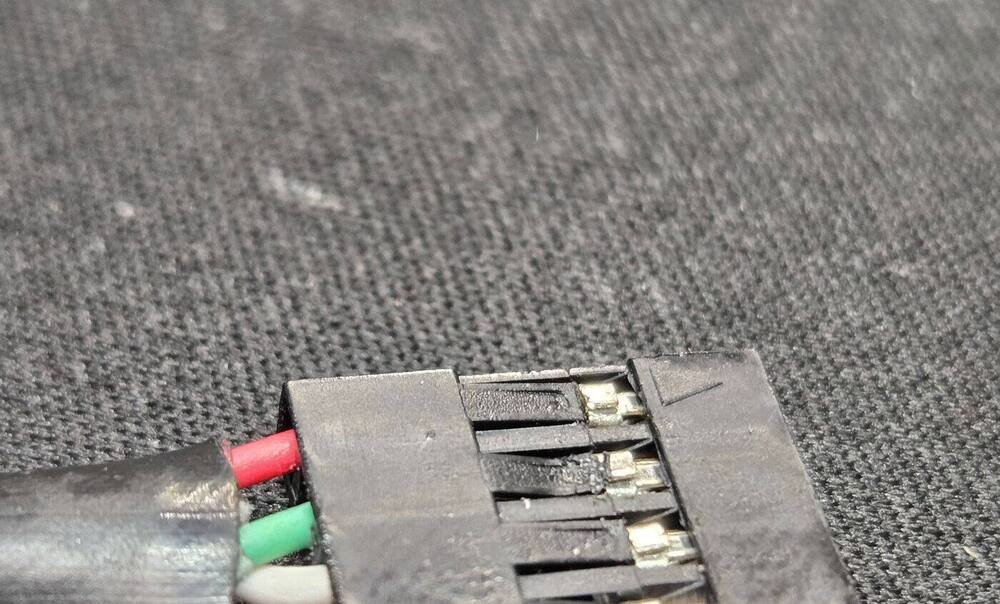
Photo 5. Wires reinserted, tabs pressed down. Click to enlarge.